Salesforce Development: VS Code, Scratch Orgs, and Code Analysis

Let’s learn the terms below and how they are used in the Salesforce ecosystem.
Definitions
VS Code
Visual Studio Code (VS Code) is a source code editor. In terms of Salesforce, this editor is used by Salesforce developers to develop their Apex Code, Lightning Web Components (LWC), or Aura Components.
Salesforce CLI
Salesforce Command Line Interface (Salesforce CLI) is a command line interface that is used for development and build automation for Salesforce.
Scratch Org
Scratch Org is a development environment used for Salesforce development which is purely made for developers to develop code and automation.
Code Analyzer
The Code Analyzer is a source code analysis tool that is used to scan multiple languages and provide diagnostic information about our code.
Now that we have definitions of these tools and know little about why they are needed to start developing the Salesforce custom applications, let's look at the prerequisites needed before using these tools.
Prerequisites
- Install VS Code: Navigate to the VS Code installation download page, select your OS, and download the required install files. Once downloaded, click on the downloaded file to install.
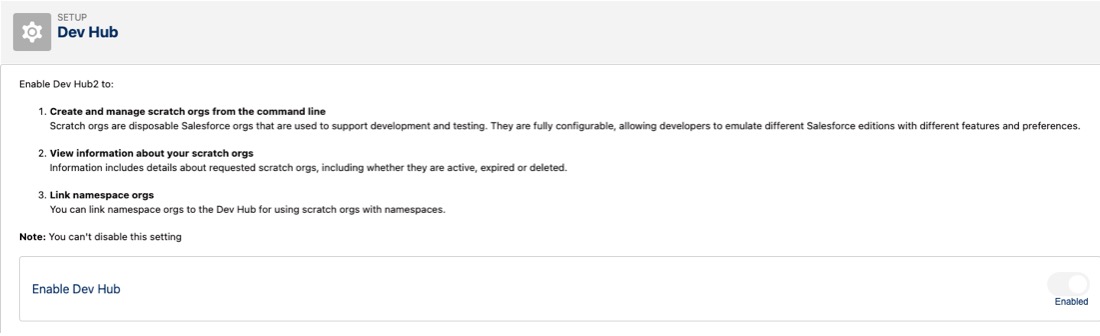
- Dev Hub needs to be enabled on your production org where you will be creating Scratch Org. These Scratch Orgs are created against a production org. (*Note: Once Dev Hub is enabled, we cannot deactivate it.).
- Login into Salesforce Org (requires system admin permissions), and navigate to Setup > Develop > Dev Hub. Once on the Dev Hub screen, toggle the Enable Dev Hub button as shown below.
- Install Salesforce CLI: Navigate to the Salesforce CLI link, select the appropriate OS, and once the files are downloaded, click on the files to install.
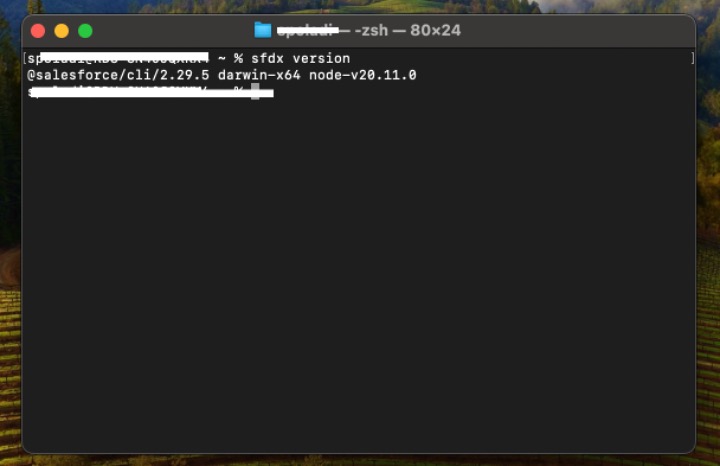
- Now let’s verify if the CLI is installed correctly or not. Open Terminal (Mac) or Command prompt (Windows) and execute the command stated below.
sfdx version
See if the command executes correctly or not.
After the prerequisites, now let’s roll to start the configurations.
Configurations
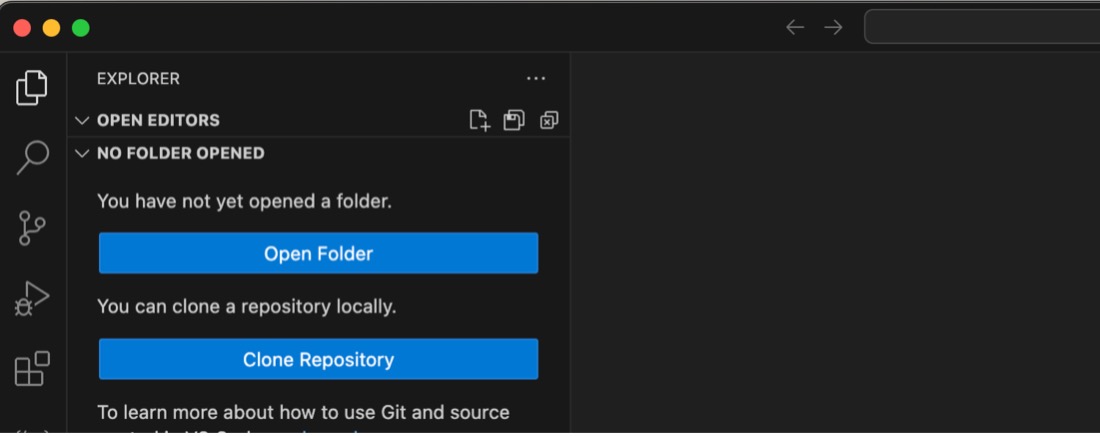
Step 1: Open VS Code
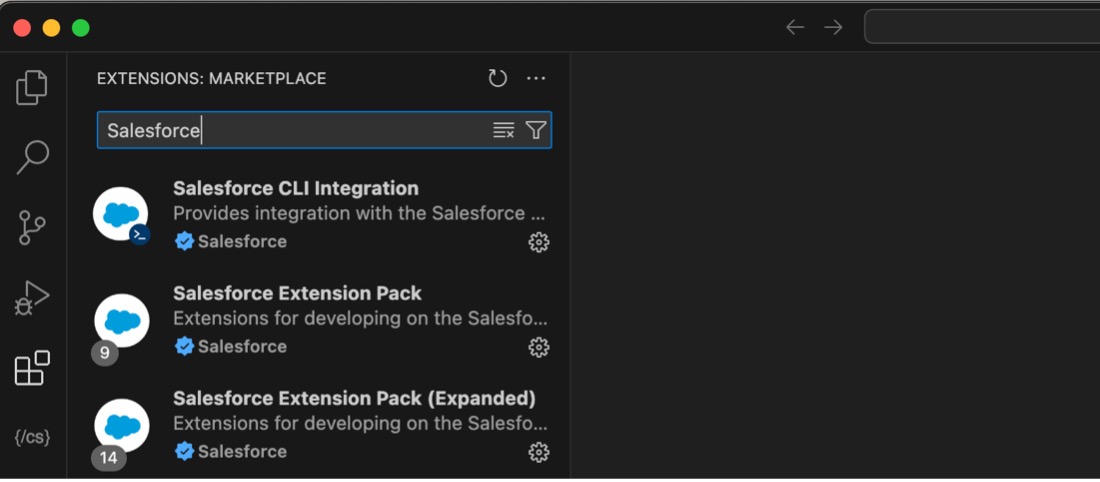
Step 2: Install Required Extensions
Navigate to the Extensions tab on VS Code, search for the extensions, and install the extensions related to Salesforce. Install all the extensions listed below, one after another.
- Salesforce CLI Integration
- Salesforce Extension Pack
- Salesforce Extension Pack (Expanded)
- Apex
- Aura Components
- Lightning Web Components
Step 3: Creation of Project on VS Code
The “SFDX: Create Project" SFDX command is used to create a project on VS Code.
Open the Command Palette (the shortcut to open the command palette is COMMAND + SHIFT + P for Mac or ALT +SHIFT + P for Windows).
Type “SFDX: Create Project" to execute the command.

Select the “Standard” option. "Standard" is the project template type that's used for metadata retrieval.

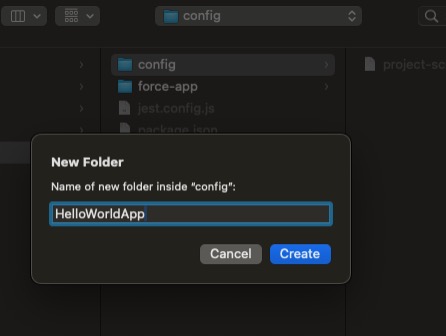
Provide the name of the project.

Select the location of the project on your computer.
Step 4: Create a Connection
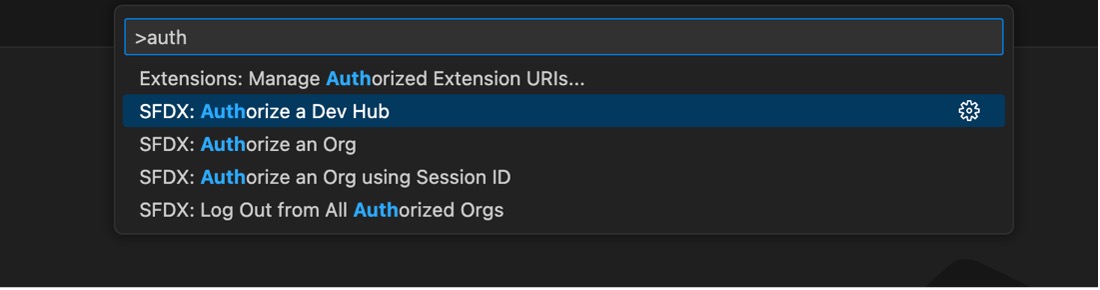
Create a connection between the project created in Step 3 in VS Code with your Salesforce environment. "SFDX: Authorize a Dev Hub" is the SFDX command used to authorize your Dev Hub org.
Open the Command Palette and execute the "SFDX: Authorize a Dev Hub."
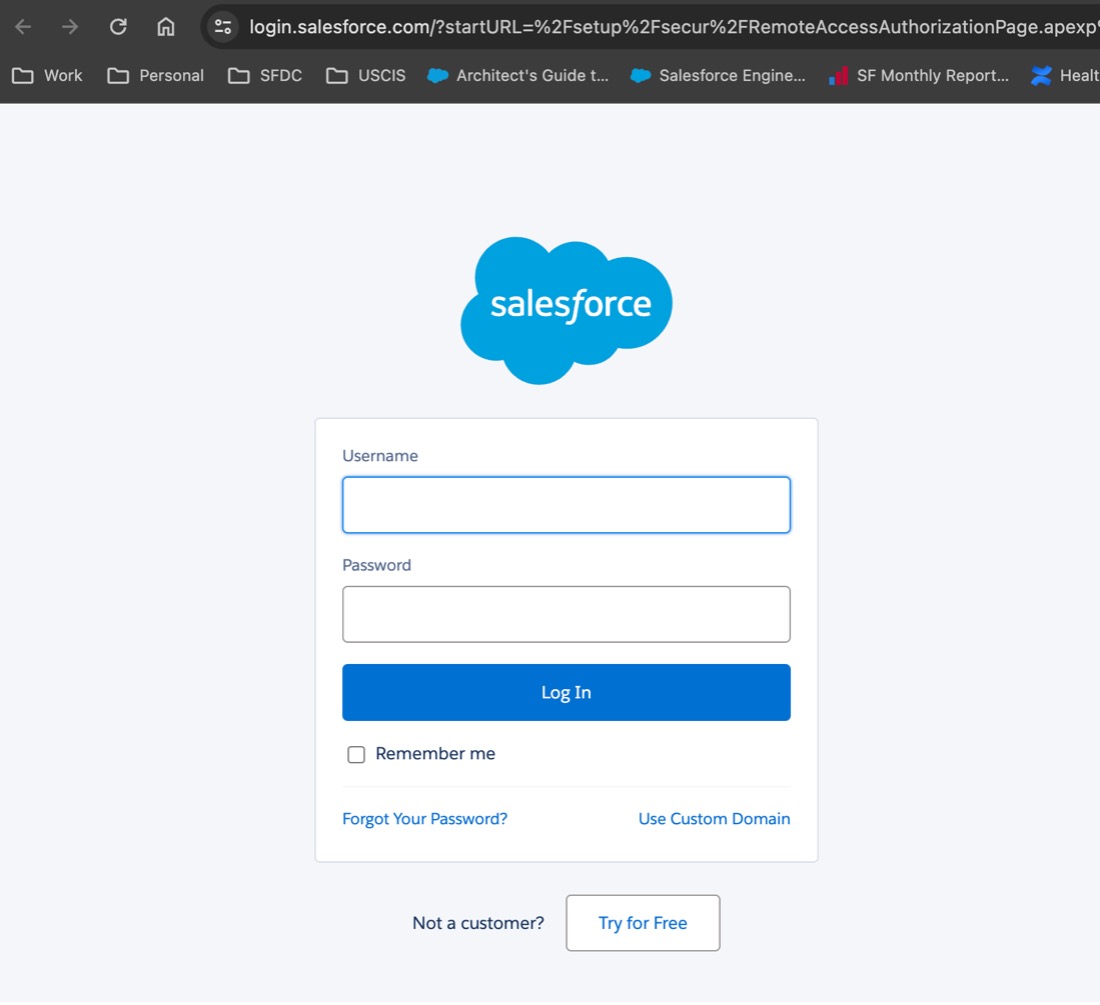
Upon selection of the command above, a browser window gets opened. Please enter the username and password which will be used to create your Scratch Org.
Upon successful login, the below message will be displayed.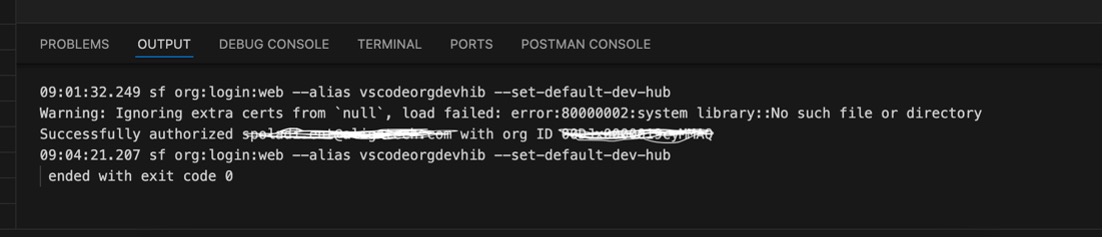
Step 5: Create a Default Scratch Org
“SFDX: Create a Default Scratch Org” is used to create a Scratch Org for the Dev Hub that we have authorized in Step 4.
From the Command Palette, execute the command “SFDX: Create a Default Scratch Org."You will have to select the project-def.json, where the type of default Scratch Org properties are set, and enter the duration of scratch in days (1-30).

Step 6: Open Default Org
The "SFDX: Open Default Org" SFDX command opens up the default org or Salesforce environment where we can download the metadata. In our case, the Scratch Org that’s created in Step 5 will be opened.
From the Command Palette, execute the command "SFDX: Open Default Org." This opens the Scratch Org on the browser.

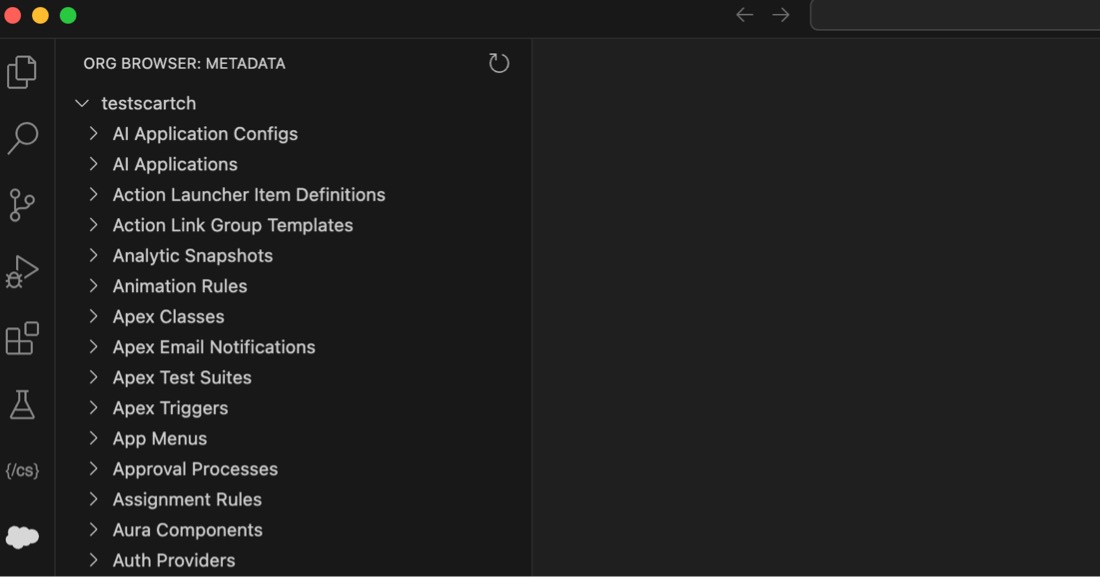
On the VS Code Org browser (on the left menu of VS code, you will see the Salesforce symbol - that’s the org browser), download the required metadata components. This will help us to modify any existing components on the Scratch Org.
Step 7: Deploy This Source to Org
Moving the creation of new components or changes to modified components to Scratch Org can be done by using the command “SFDX: Deploy This Source to Org”.
Once the changes are developed on the VS Code, navigate to the Command Palette and execute the SFDX command, “SFDX: Deploy This Source to Org.”

Step 8: Salesforce Code Analyzer
Now let’s install the Salesforce Code Analyzer extension for VS Code and the Code Analyzer plugin for Salesforce CLI. As we learned before, the Salesforce Code Analyzer helps to provide static code analysis for our code components.
Go to extensions on VS Code and from the marketplace, search for the extension "Salesforce Code Analyzer," and install it.

Navigate to VS Code Terminal and install the Salesforce (SF) plugin code analyzer by executing the command below.
sf plugins install @salesforce/sfdx-scanner@latest-betaThe terminal section/tab of VS Code can be found towards the bottom of the VS Code.

Step 9: Execute Code Analyzer
Now let’s execute the Code Analyzer to find out the static code issues on our component.
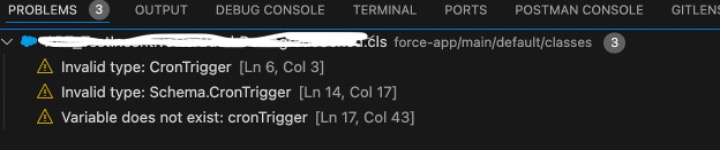
Open the code component/file. Navigate to the command palette and execute "SF: Scan current file with Code analyzer.”

The problems section/tab of VS Code can be found towards the bottom of the VS Code.
Conclusion
- Now you should be able to use VS Code editor for Salesforce development.
- Using Scratch Org helps develop and automate your builds.
- Code Analyzer will help you develop Salesforce Apex, Lightning Web Components (LWC), or Aura code components issue-free and provide static code analysis.
